When I wanted to give myself my half mohwak (whatever the hell it is called) I looked around online. That search came up with almost nothing. Which is why I wanted to make this guide to cutting your own undercut or maintaining your own undercut. This is a simple written and pictured version on how to give yourself an undercut. For the record I’m in no way a professional, I just have experience in cutting my own and others hair. I regularly maintain my undercut and gave myself my half mohawk.
 |
| THAT HAIR. That insanely kickass hair! – Link |
Tips For Newcomers
You Aren’t Going To Die
Understand that you aren’t defined by your hair and cutting it off is not the end of the world. I sometimes watch videos on YouTube of young girls cutting an undercut for the first time (usually because it’s oh so trendy) and they start crying and complaining. I’m sorry, but coming from someone that cries very easily this is just awkward and silly. Hair does grow back, yes it might take months but it’s not lost forever. Plus, this leads to people that really want it done (like little small feminine things like me!) to be refused to get the cut we want because the hair dresser is frightened that I might cry my eyes out.
Want It
Whatever your reason you should want to have this hair style. Don’t do it because it’s trendy (which it was for a while) or because your boyfriend thinks it’ll look nice. This will most likely lead to regret.
Side Burns
On a lighter note if you want what is known as a ‘girly burn’ or merely a side burn to be left, then section that off before you cut. I know out of experience that the process (and the awkward stages) of growing that one section of hair back is annoying as hell. Plus, a lot of people felt the need to tell me that I somehow “forgot to shave that part”. I don’t think that’s something that you’d forget.
The Undercut Guide
You Will Need:
- Scizzors
- A Hair Clipper
- Clip guards
- Razor/s (for a clean shave)
- Old Clothes
- Hairbands
- Hair pins
- A general idea of how you want to cut it. How long, what shape, do you want side burns, do you want to shave it down to the skin?
- A very basic knowledge of how to work hair clippers.
 |
| You should probably get to know your hair clipper before continuing. |
You only really need to pay attention to the fine cut and coarse cut leaver, the cutter and comb, on/off switch, how to put in clip guards and then you’re basically set.
1. Get Dressed
Even if you’re maintaining an undercut that was just cut a few weeks ago there can be a ridiculous amount of hair that will fall all over your gorgeous clothes. Don’t take that chance.
2. Section and Separate
This is simple and a bit too obvious but the second step is to section off the hair you want to cut – whether it’s maintenance or your first shave. For those with long hair (or the first shave) tie up two separate sections (the part you’re cutting and the part you want to keep) and then pin flat to your head the hair you want to keep. Don’t forget your fringe, or the part of your fringe you want to keep.
3. Your First Cut
If you’re starting from scratch just jump right in and cut your hair down to two inches or so with a pair of scizzors. When using clippers the length usually doesn’t matter though because the blade its self is a combination of electric (or manual but I doubt anyone would use them) comb and scizzors. Cutting it lower first just makes it a lot easier.
 |
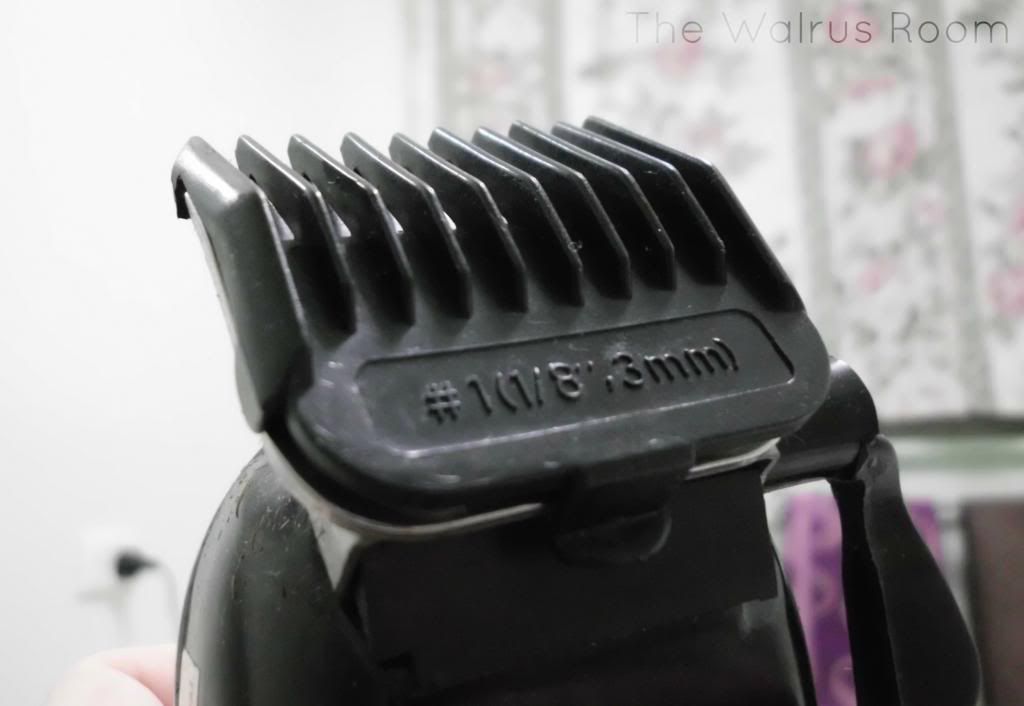
| This is what my clip guard reads. |
3. Choose Your Guard
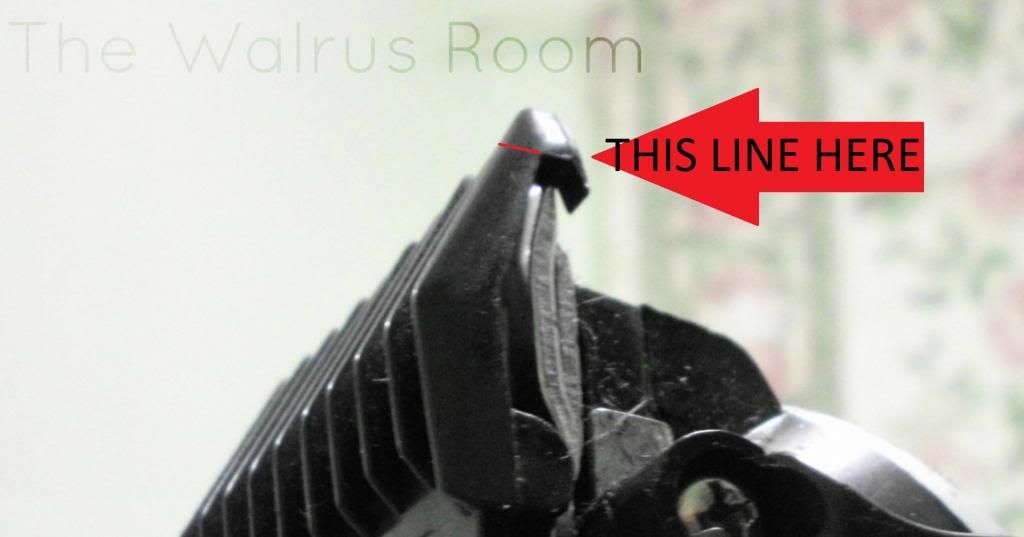
Clip guards come with the clipper and clip over the comb and razor blade to section a length of hair from being cut. It should have a number on it and a size in mm’s but you can also look at the edge length of the comb section (See badly drawn diagram below, it isn’t easy to miss). I suggest starting larger than you’ll want and then cut it down to size but I usually just jump into a #1 or #2.
 |
This is the length your hair will be if you use this clip guard.
Alternatively this is the length of my undercut! |
4. Clippin’
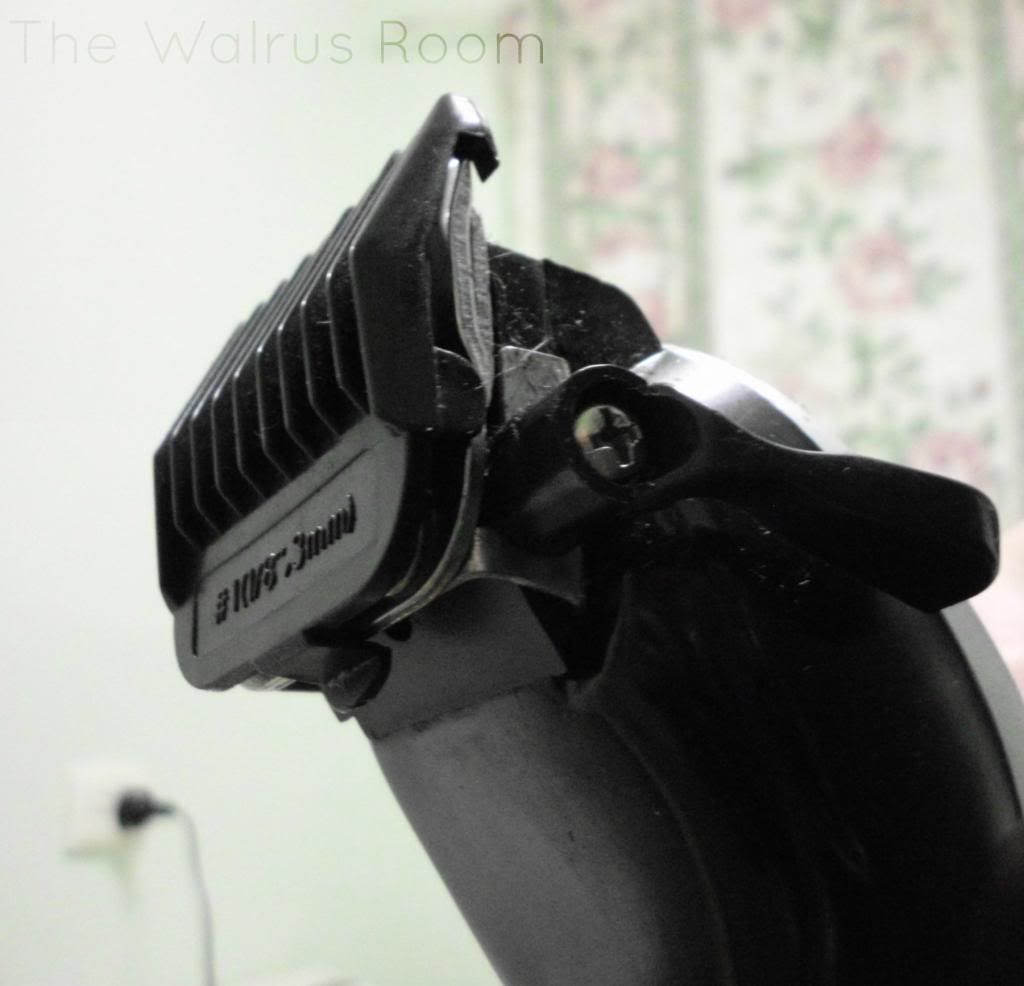
When you start using the clip guard (after scizzoring it down to the length you want) you might have to adjust the clipper. There’s usually a large switch that adjusts the comb. The first time going over the hair you’ll want the comb as long as it can get – this will help the razor not drag along your hair and pull on it, not to mention it will help grab longer hair.
When the hair is cut down to the length of the clip guard with the longer comb, go through it with the short comb length for a finer and more even cut.
 |
| See, little knobby thing! |
5. Feel The Hair
No, I’m not saying you should light some incense, put on some Dead Can Dance and breath in the essence of your hair, by all means you can do that. I mean that I personally feel more comfortable cutting hair I can’t see when I can feel where I’m going – but that just might be because I have a unconscious need to hold on to things otherwise I get displaced.
Of course, try not to get in the way of the blade. I usually place my hand over the section I don’t want to cut so that I physically stop the clip-guard.
6. Lots of Mirrors
I hate using mirrors when I cut my hair, apart from the main mirror I look into. It’s handy to have a small one to see where you’ve already cut and what remains and to use your hand to guide the clipper in that direction.
7. Cut From Up, Down, Left and Right.
You never know whether one section of your hair is positioned so that the clipper goes straight over it. Since you don’t particularly want to have one section longer than the other (Grrr, it bugs me all month long!) I suggest that you shave from several different directions – just to be safe.
 |
| Even Punks need help sometimes! – Link |
8. Get A Helping Hand
There’s this one section at the nape of my neck along the edge of my undercut that bends in a hard to get at direction, of which I have to bend my arm over my head to cut. It drives me insane and this is why my undercut was cut bigger and bigger each time.
Trust me, I hate giving in and asking for help (especially since my partner is so hesitant to shave my head) and I hate loosing control over my hair but if you want the result of your dreams, you might just have too.
9. Skin Tight
Even if you aren’t razoring it down to nothing you’ll still want to remove the clip guard and fix up the edges into a straight line – particularly around your ears. If you chose not to keep your side burn/s you might want to fix up that area, to make it straight, higher or however you choose.
This is where you would add a pattern into your hair if you had one in mind. I haven’t yet tried this (though I’ve been thinking about it) and will probably talk about this in a separate article.
When razoring the whole section of the hair down to the skin you might want to shave as close with the clipper and then take either an electric razor (which is what I’d use since it’s very fast), safety razor or a throw away razor and some shaving creme. Do NOT use shaving creme with the clipper use it with an actual razor. You’d want to treat the scalp like you would if shaving someone’s face, or even gentler.
 |
| I adore this. – Link |
10. Finished
Take a shower, change your clothes or wash your face (or neither, if you so choose) because you’re probably covered in hair. But don’t forget to enjoy it!
Help make this guide complete and comment bellow if you think I’ve forgotten anything.You could check out my video tutorial on layering and shaving my undercut [here] but it’s back when I had less hair shaved and my fast simple video [here] that’s even older to the point that I still had brown and blonde hair.