![]() After reading Kamyria Magdalena Mourn‘s post on her creation of her lovely arm warmers here I was inspired to start some of my own heavily modified, of course, version. Just in time for Sophisticated Noir’s Monthly theme posts! I hope you enjoy. It’s a very simple tutorial, I’m very lazy, so nearly anyone can follow along and modify it as they please.
After reading Kamyria Magdalena Mourn‘s post on her creation of her lovely arm warmers here I was inspired to start some of my own heavily modified, of course, version. Just in time for Sophisticated Noir’s Monthly theme posts! I hope you enjoy. It’s a very simple tutorial, I’m very lazy, so nearly anyone can follow along and modify it as they please.
You will need:
-Some type of lace or fabric.
-Thread.
-A needle.
-Ribbon or elastic.
-Decorations.
-Buttons.
-Scizzors.
-A lighter or something that flames.

 |
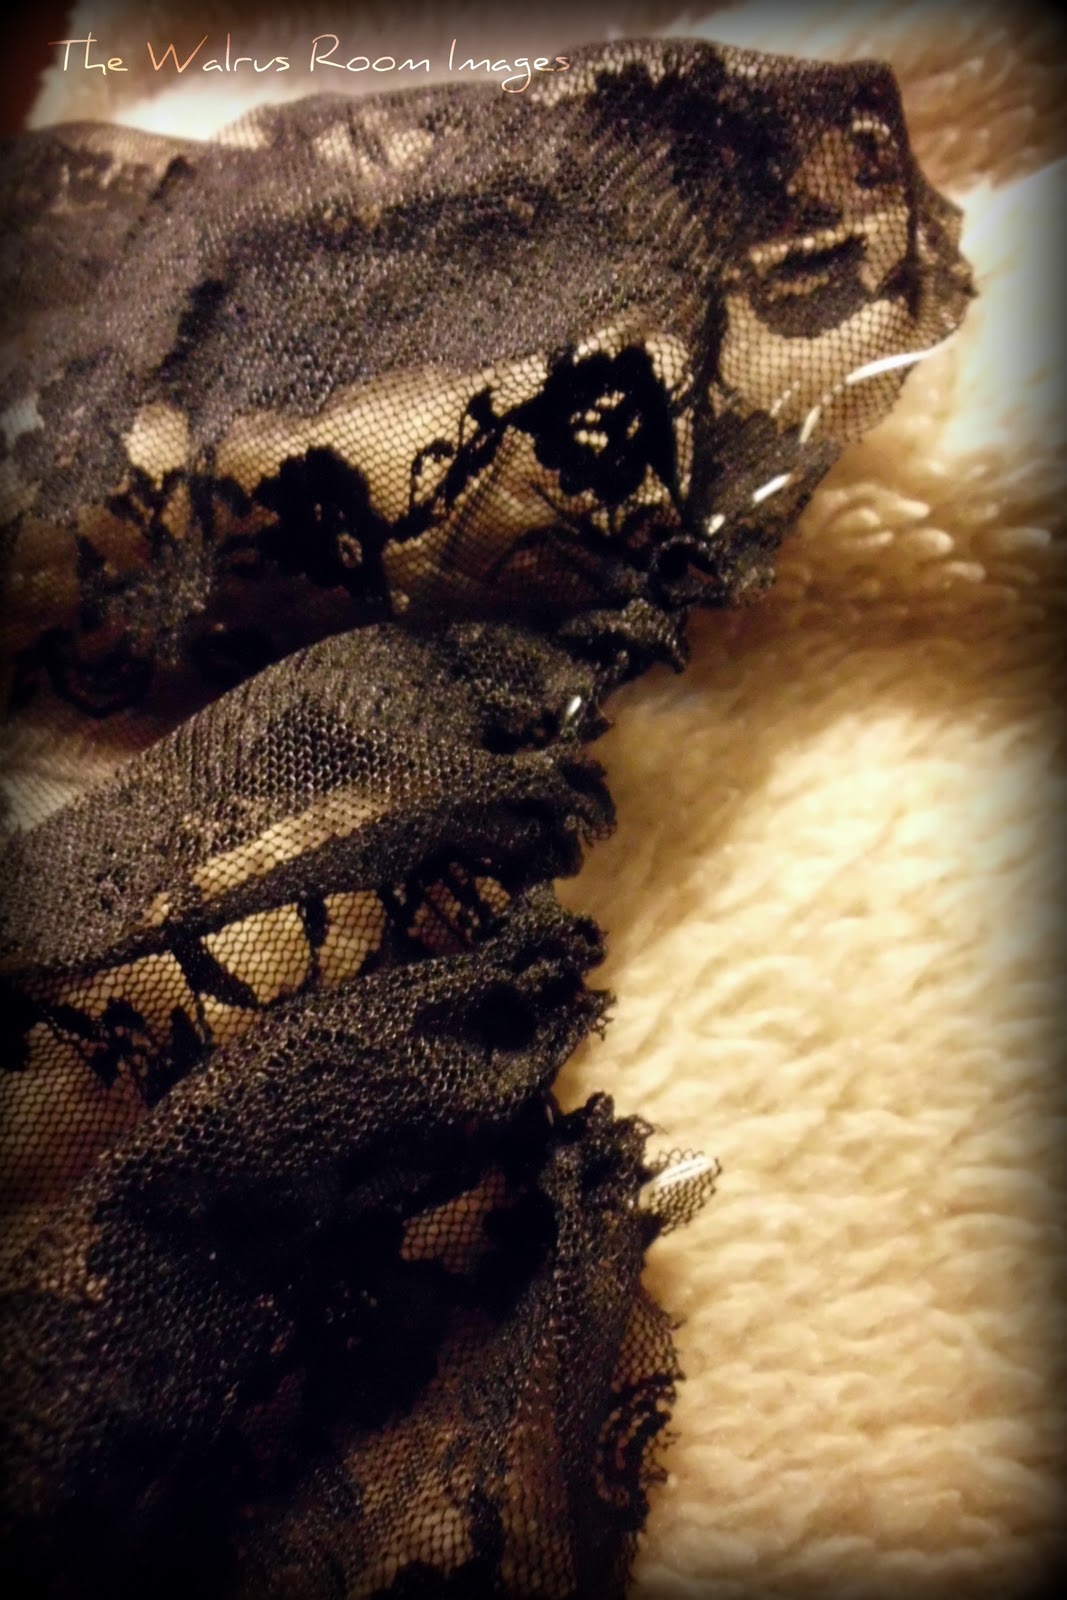
| Random close up of my lace. |
Step One:
Cut out your fabric of choice into four parts. All lengths should be three times your thickness (of any part of your hand), two should be your desired maximum length and two should be shorter than those. You’ll also want to cut your ribbon now. Cut it depending on whether you want to tie it, or to use buttons. Take the ends of the ribbon and run it other the flame. Be careful it may burn quickly! It will melt the tips and stop them from fraying.

 Step Two:
Take your pieces of fabric and sew on the rough edge in a straight stick, it doesn’t have to be fancy. You might want to use black thread if you’re using black lace but you’ll be ruffling it anyway.
Pull along the thread and evenly distribute it. Make it so that it’s slightly shorter than your wrist measurement. (Otherwise you’ll have problems with the button.)

 Step Three:
Sew the two didn’t length’s of fabric together with the ruffles as evenly distributed as possible. Then I pinned them to the ribbon. I think you honestly need something to pin them with, even if it’s just safety pins. Those ruffles mean business!
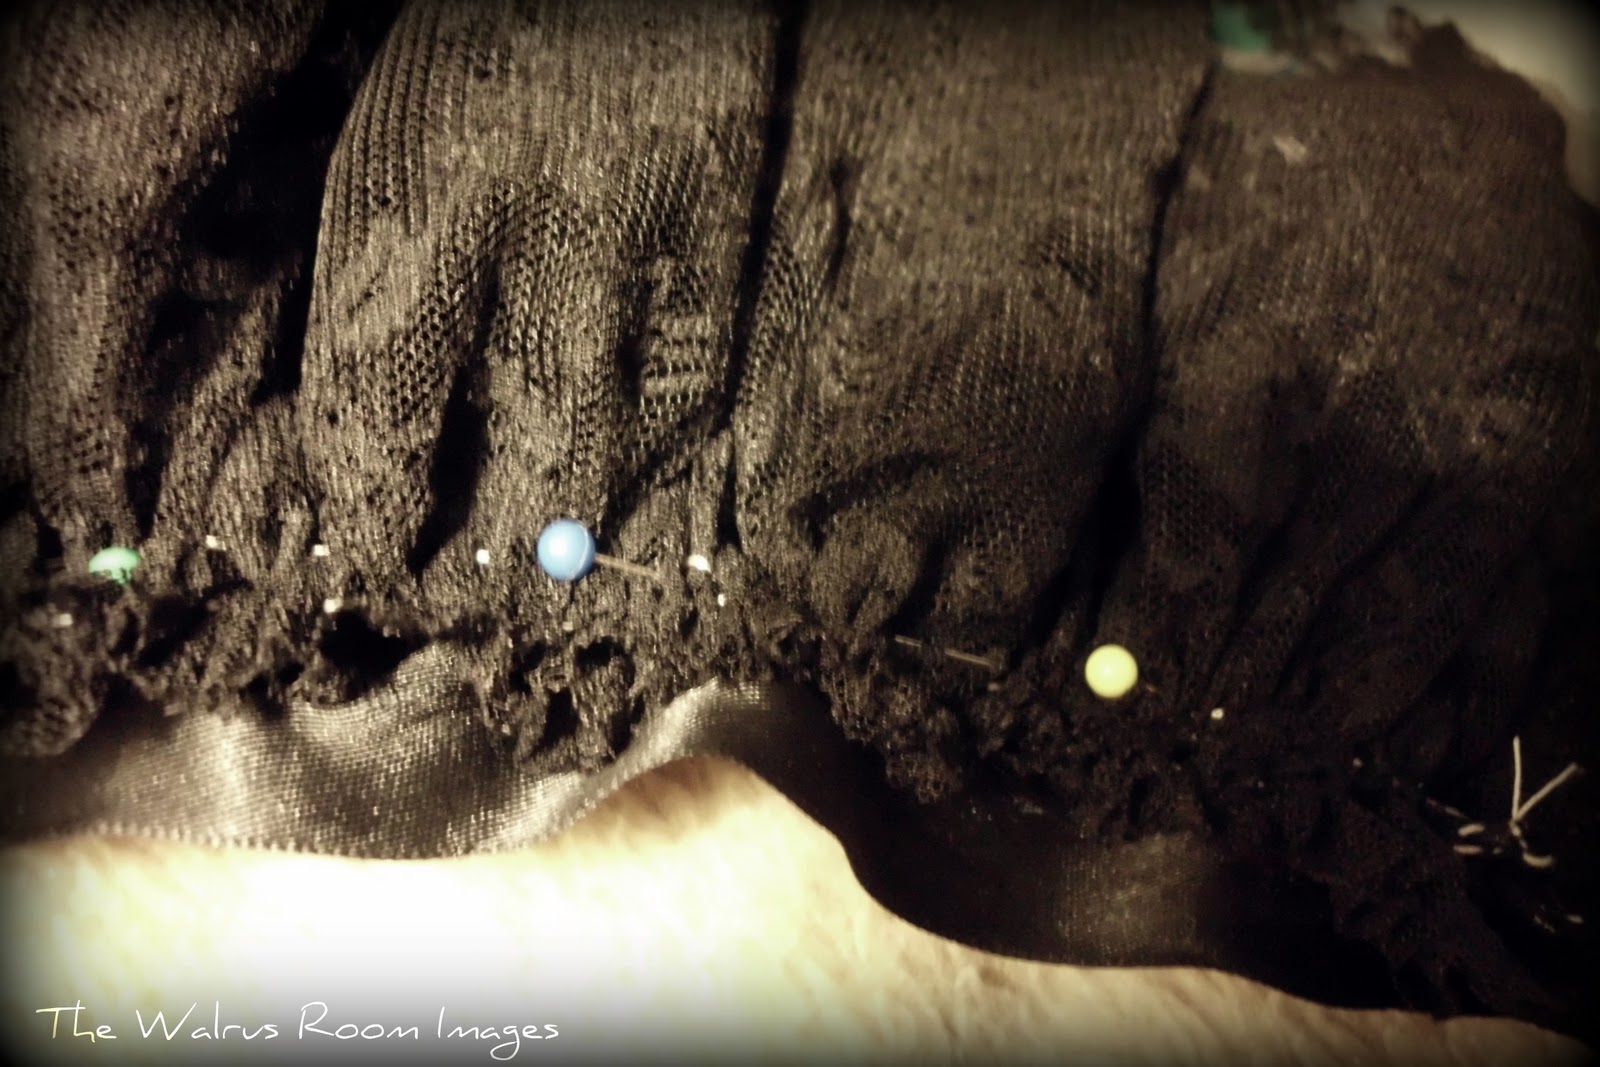 |
| Pinned. |
 |
| And stitched. Yes it’s horribly stitched. |
I used, I have no idea what the name of the stitch is. Generally just a typical stick by less frequently. When done well you shouldn’t be able to see it at all. Unless, like me, you randomly decided to sew this at one o’clock in the morning.
 Step Four:
If you’re going to use buttons you’ll need to cut your ribbon down to size. I cut the over lapping side down first and then placed the cuff on my wrist and pined the button where I wanted it. Then I cut the button hole. Remember the run the edges and the button hole over the flame. be EXTRA CAREFUL with the button hole. I ruined on of mine and had to sew it so it didn’t snap.Ribbon burns super fast.
Step Five:
 Sew up the edges from a fair, measured distance, from the button hole. Try it on and pin it in a place that it can be easily removed. Sew from there!
Step Six:
Add any decoration you wish! Go crazy. I didn’t, because I’m lazy and I prefer a simpler look. I also hemmed my lace, because it’s open cut lace but that was only really because the bottom was way too long.
You’re done! Enjoy your new pair of cuffs!
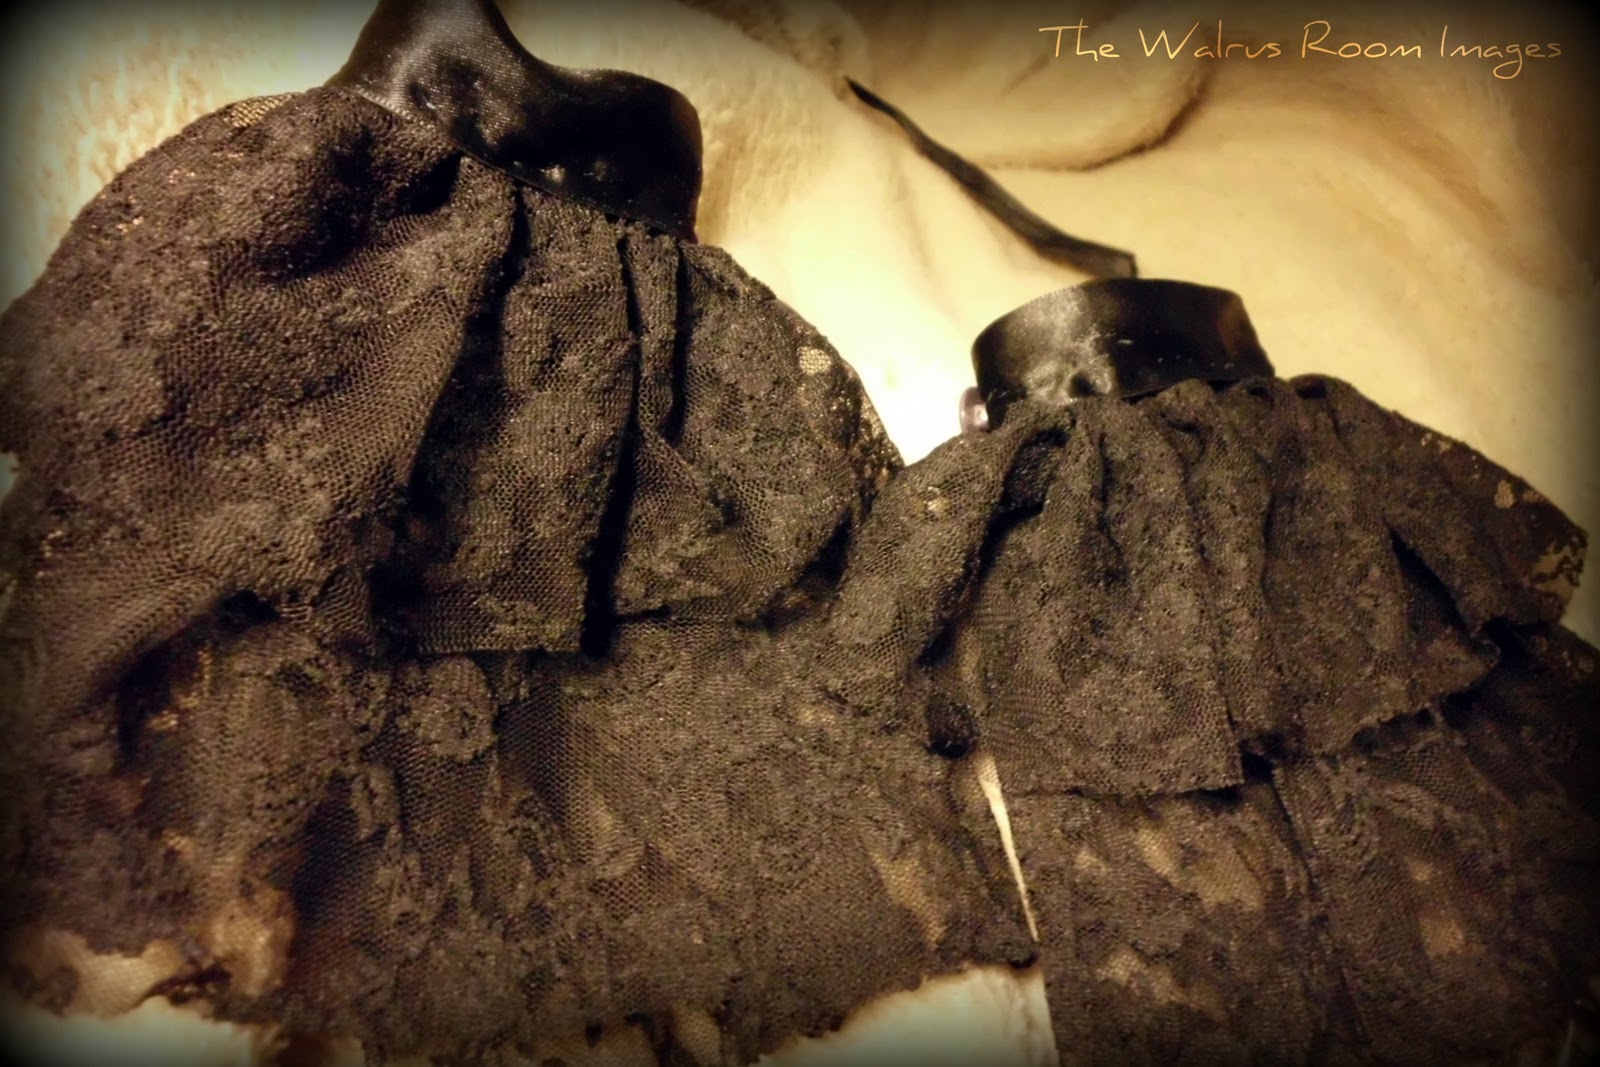 |
| My finished pair. |
I hope you enjoyed. And check out that other version!
Best Wishes
-Sary
