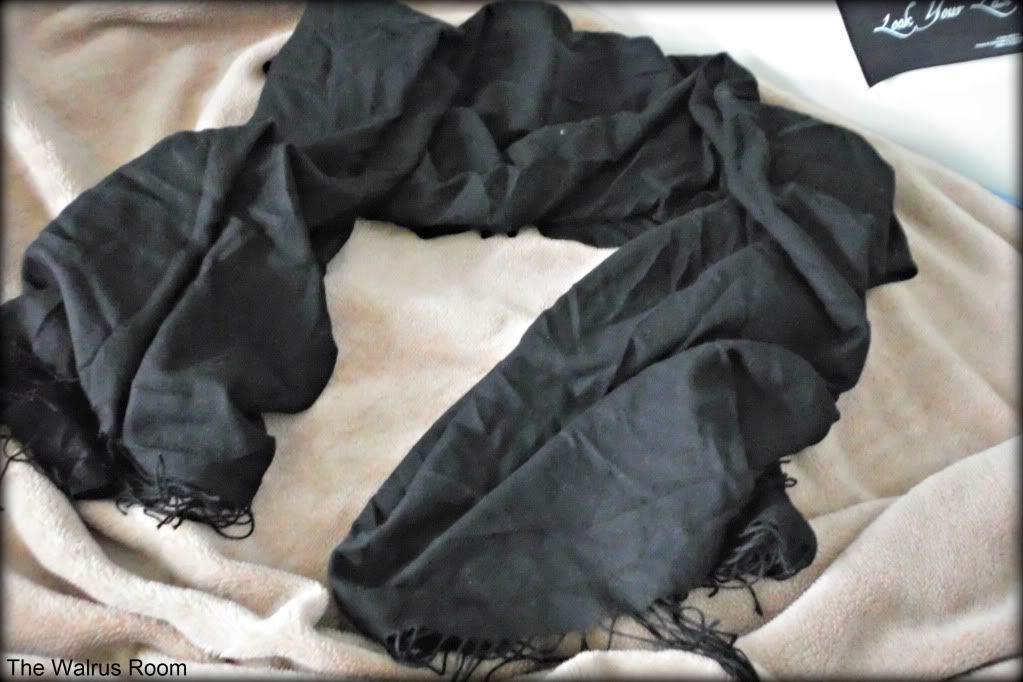
When I first bought this kimono I wasn’t really sure if I’d wear it. But in the end I wore it over and over. They’re so much more versatile than I think a lot of people realise, great for throwing on at the last minute to automatically upgrade an outfit into that certain realm of awesome and come in so many shapes and sizes that I’m sure anyone could find one that they like!
But there are more ways to wear a kimono than throwing it on over what you’re wearing. Which is where this list comes in:
 |
| Outfit post will be up soon! |
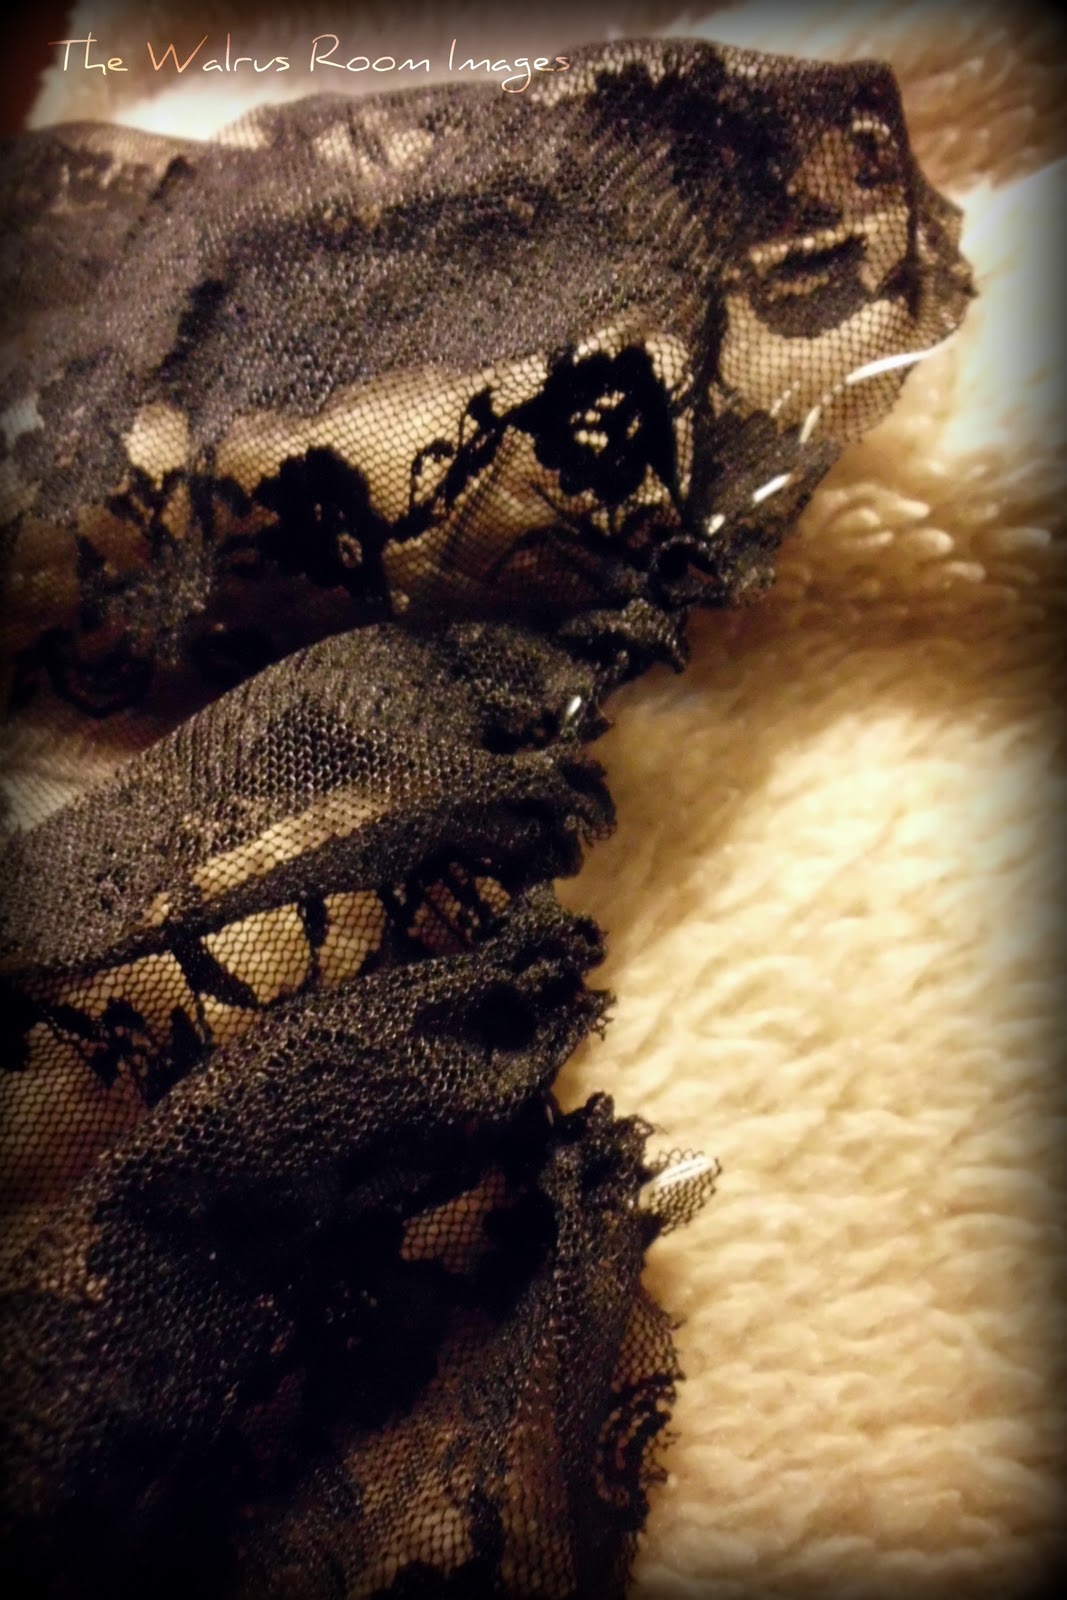
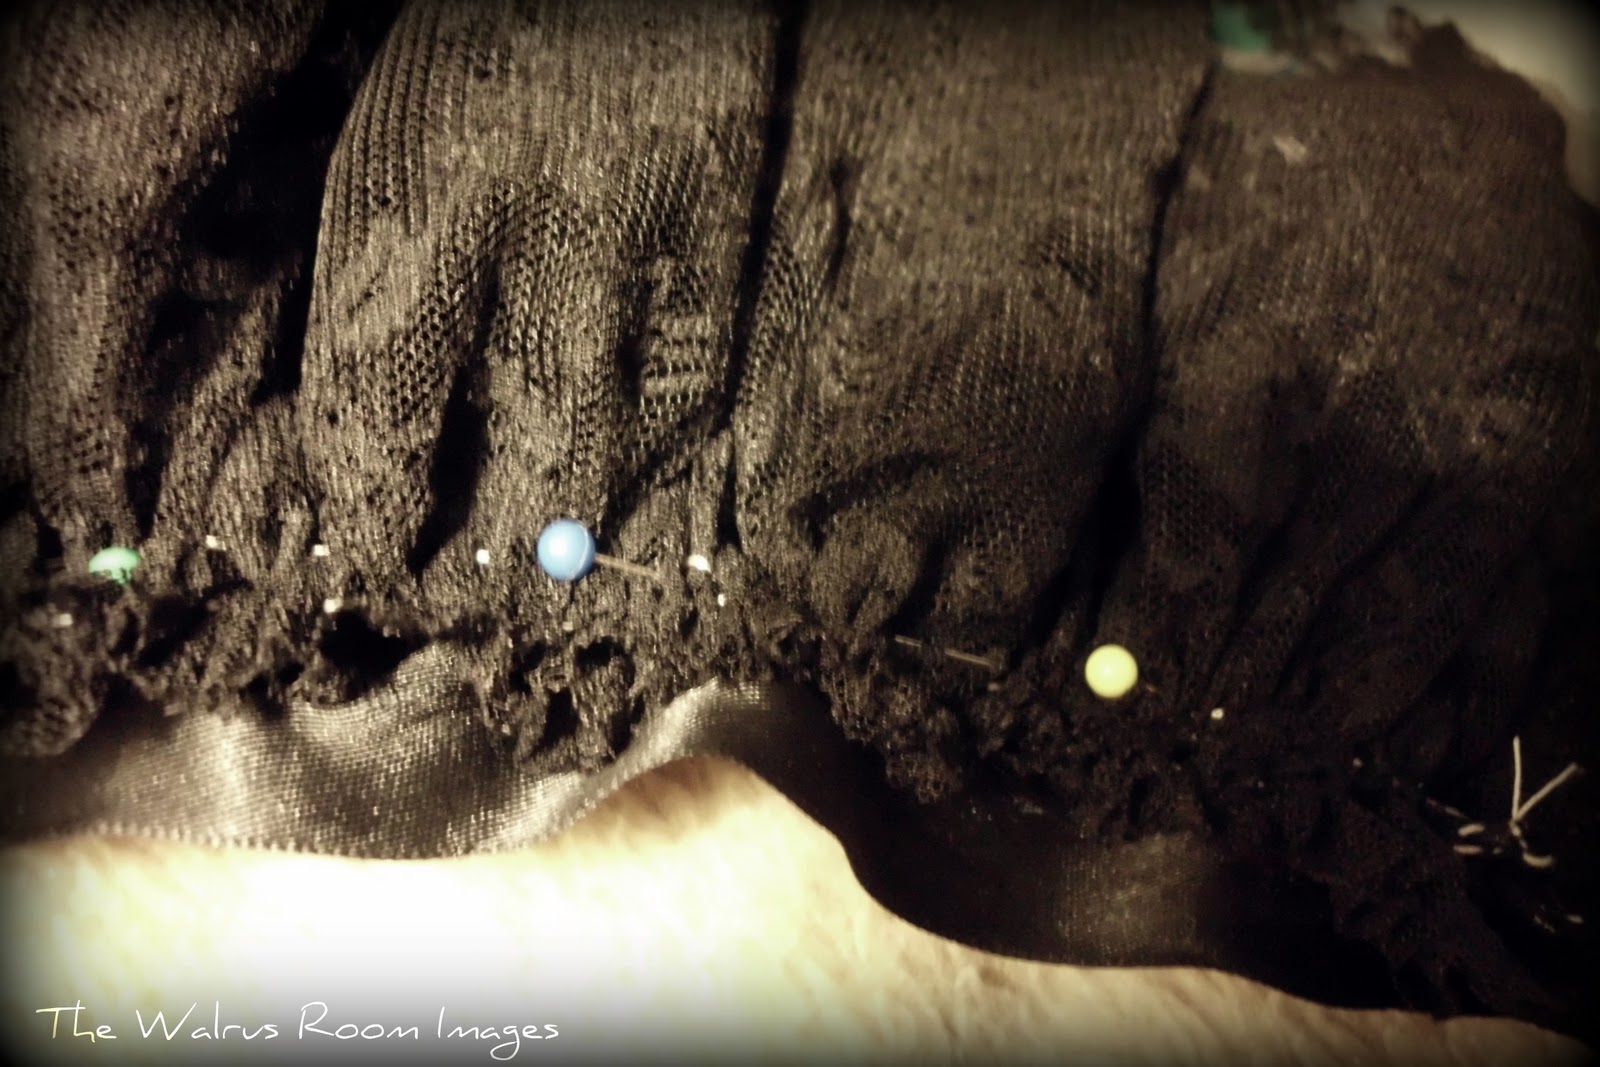
As a Blouse
I have to admit that in summer I use my kimono as a light-weight dressing gown, which is where this idea originated from. Just pin it into a style you like, choose a singlet to throw under it and bam, you have yourself an oversize chiffon blouse!
 |
| From this outfit. |
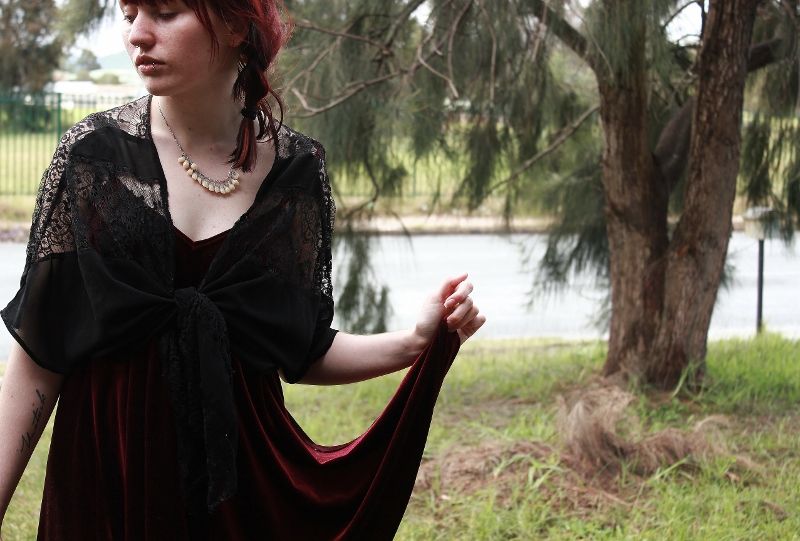
Knotted
Too hot for a cardigan but shawls annoy you or just aren’t your thing? A knotted kimono is here to save your day. In comparison with the “knotted button-down” it has the same versatility to look either elegant or totally rock ‘n’ roll while at the same time not resembling any annoying school-girl costumes.
 |
| From this outfit. |
Belted
My favourite way to style a kimono is with a belt because it really brings out the blousey, luxurious feel that a lot of the materials that are associated with them hold. Plus, belting them means you can create some really awesome layers with fringe or lace over interesting textures or patterns.
So, that’s how I style my kimono. How do you?