Update: Half-a-Deathhawk – Cats – Make-up Looks


You may not have noticed but my posts have been quite spread out lately and less personal (personal to me is probably a lot more refined than personal to others). So, I thought I would update you guys a bit.
Recently, I took my cat Spooky to the vet. She’s fine, just needed some vaccines and de-sexing. It was such a long day though and it really made me appreciate her more. So, here’s a little (very dark) picture of her with her new collar. It’s black was slightly crap diamante’s on it – but I think she looks adorable.
 Funny story but when I was at the vet. Well, when I walked into the vets the person behind the counter looked at me and said, “And you’re Spooky’s owner? She’s black, isn’t she?” It was quite funny but a bit sad as well. Hehe.
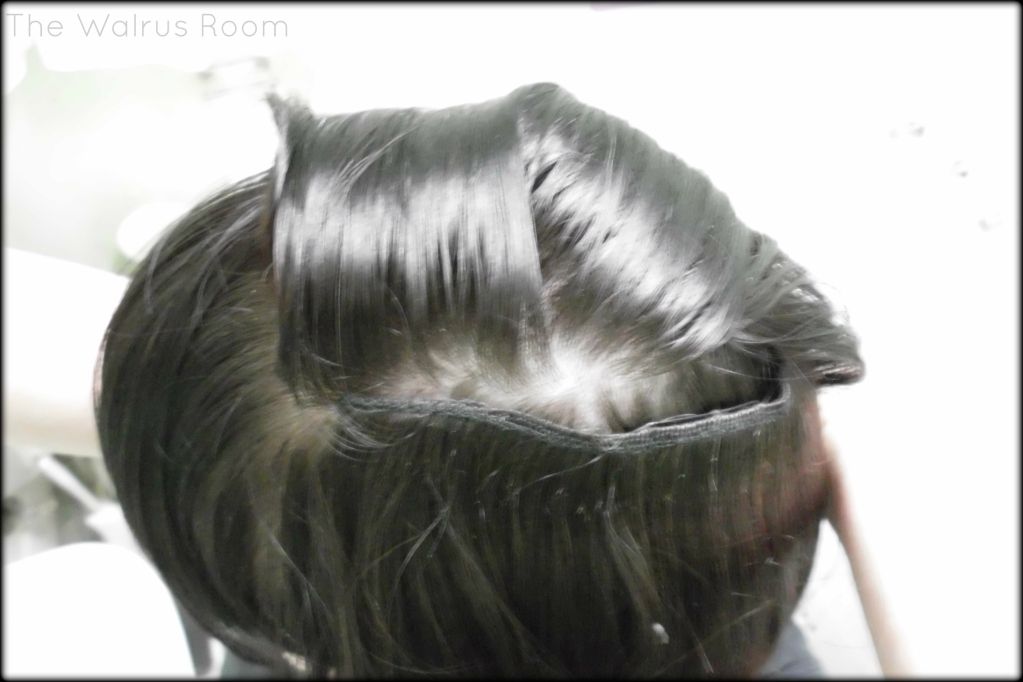
For a long while I’ve been wanting to turn my undercut into half a hawk (which is apparently already dictionary named a halfhawk but I prefer Half-a-hawk). Yesterday I was playing around to see what it would be like and trying to get more information. I decided against doing it and then, well. I went and cut off the section almost immediately. It was quite a bit harder to shave it by myself but Coen helped in the parts that I can’t (the very edge of the centred bend, and behind my ear which I can never do. Even while I had just a square undercut.)
In all honesty, it doesn’t feel very different. It feels a lot better and softer as newly shaved hair tends to feel. I have a little less hair to play with. But if I had have taken a picture of the actually amount of hair I cut off it wasn’t very much at all. Behind my ear feels awesome with Coen’s help shaving it though.
A bit ago I ordered some eye-shadows, a magnetic palette and some brushes from coastal scents. They recently arrived and I’ve been having so much fun experimenting with them! Included in them is a bright orange that I’m especially excited to wear in October. There’s a review in the works after I’ve tried them out a bit more but for now here are some experiments.
Black outside corner, purple inside.
Read crease, black inner corner and liner.
black outer corner, red crease, purple inside of the lid and orange inner corner.
I hope you’re all having a happy whatever,
(Also, holyshit I’ve hit just over three hundred and fifty followers)
-Sary Walrus

My Hair (styling) Experiments – Curls & Extensions

As you might have noticed I’ve been seriously dabbling in Lolita. Along with dabbling in the fashion I’ve been looking into the history and information about it. One thing I found was that hair really is important. Which makes sense. Of course it’s not important if you don’t want it to be but to a fully coordinated outfit it can add a great amount of elegance and theme or break it completely.

Hair isn’t exactly something I excel with; I can take care of it, colour it and grow it but style it is not something I’ve had to do my whole life. As someone with dead straight hair that wears two basic hair styles everyday, a ponytail or just out, I was honestly frightened looking at all of those perfect curls.

Heat is something that I’ve stopped placing on my hair for quite some time, to the bare minimum, generally I’ve accepted it to be the hairs worst enemy but over time I’ve tried to work around this. Heat isn’t my enemy anything. I’ve learnt to:

  • Use heat styling in moderation or generally carefully.
  • Use a heat protect.
  • Try non-heat or low-heat alternatives.
  • Deep conditioning is your best friend.

Anyway, onto the good stuff. By good stuff I mean mediocre pictures by myself. All, apparently while I’m in my pyjamas.

 Hair Extensions

Bad photo is bad. If you hadn’t noticed.
The hair extensions use clips.
This is three hair extensions layered on top of each other.

Straightener/Curler

 I really love this and I’m so glad I invested in it. I decided to choose a straighter as to be able to both straighten and curl my hair. This one has cooling plates on one side as it’s specially designed as for both curling and straightening but as far as I can tell it works just as a straightener would and doesn’t add anything special.

It’s actually a very lovely purple that my camera doesn’t pick up and also miniature! Great for small curls.

The pictures are quite a bit after doing my whole head, the curls were a lot more fluffier before they dropped through time.

Here the curls are held up with a clip.

Curling wand/hair blower

 My curling wand/hair blower this takes a lot longer than a straightener, with less curls but it definitely damages my hair a lot less. It works by curling the hair around the nozzle and it blows hot hair into the hair to set it. When you’re finished there’s a button to press so you can just pull the hair and it pulls out into a curl.

 Personally, I couldn’t find much online about lolita hair styles for those with undercuts or hawks. Other than a few images here and there or some questioning what the hell they’re suppose to do with their hair other than curls. I hope this is at least interesting to see, rather than be too informative.

I think I might do another post with good pictures of all the hair styles I’m considering, mostly for my outfit to Supanova in Sydney later this month, along with a poll to get some opinions!

Best wishes,
-SaryWalrus

Undercut: Rojopelli

Today I went to the hair dressers. A place called Rojopelli and it was my first ever time getting my hair cut in a hair dressers, or anything in them at all. I was nervous and tripped over the seat. It was sad.

When I told the women what I wanted she looked worried. I don’t know if it was because she had never shaved someone’s head before or shaved a girls hair before but she went and spoke quietly to the hair dresser. It didn’t help at all my nervousness.

I wasn’t nervous at all about the haircut as I knew exactly what I wanted and didn’t think any screw ups would be that horrible. Easily fixed with a death-hawk. I think she was worried that I would cry or something in reaction to my hair being shaven as I remember her saying, “I’m only cutting this little section of hair okay?” in an attempt to make me feel less nervous. I told her I wanted it larger. I guess I was nervous because I have horrible memories of my hair which I never EVER ever want to speak about. But also I haven’t left the house to do something other than school in a long time.

Anyway, it was shaved to the second lowest blade, I think it was called a number two and was three or four millimetres. I absolutely love it and it’s a lot easier to cover than I thought! Getting your head shaved feels very vibrational (hehe!) and afterwards I had a horrible migraine but that’s probably because I didn’t take my medication this morning.

Overall, today was pretty good. My mum and I, after going to the hair dressers went thrifting and I met some of my mums friends that gave me a lot of complements. I picked up quite a lot. We also went to place called Jamaican Blue which is a really nice coffee shop. Though the coffee was pretty average compared to the cakes.

How was your day?
-Sary

Sitting Here With Bubblewrap Covering My Hair

While I’m sitting here with bubble-wrap covering my face and a coffee I though, why not upload round three and four of my bleaching progress. It’s getting there but there are some tips I looked up that would have helped A LOT in the long run and by long run I mean, there WOULDN’T BE a round three and four. Well, maybe a three but that wouldn’t involve bleaching what so ever.

BACK TO THE POINT.

Round Three:
There wasn’t much of a difference as it was only done for ten minutes due to the fact that my scalp started bleeding. I learnt my lesson after that. I can be so stupid sometimes. Oh well. I would considering putting pictures of the bleeding up but then I realised how horrible the consideration was.

ROUND FOUR:
I left my hair for three days and then tried a toner on it. My hair turned out a lot better, not that the picture does it much justice, and some of my hair turned white. It was a conditioning, hair repair toner that I love. My hands turned purple. Hehe.

Depending on the result of my fourth bleach I will post soon enough.
-Sary.

Hair: Curls.

 This is from last night when I wasn’t feeling very happy. My hair reminds me of bananas and chocolate. I also found out that me and the bear that sleeps next to me have the same colour hair (:3).

I adore curls, they always make me feel pretty and with my hair the colour of bananas I really needed that. I probably will be staying like this for a while now, since I’m not allowed to leave the house.
-Sary

Hairstyle Tutorial: NO-idea-what-to-call-this PLUS Makeup/Outfit

 This is for crimped looking hair without damaging the hair too much and with the bare minimum of experience and motivation needed. It’s a lot like rag-doll curls as far as I know but without the need for a rag and cutting.
What you need is:

  • Hair
  • Mini-hair bands or hair band’s or even a piece of rope. Just something to tie your hair strongly.
  • You may need scissors, depending.
  • If you choose to do this with wet hair you will need a hair dyer or a lot of time.
  • If you choose to do this with dry hair you will need a lot less time.

I prefer to start by sectioning my hair into small sections but it could be done with large. Today I did large on the top and small on the bottom and the large was a lot LESS effective. You take each section and spin it until it make a little spun ball from being spun so much.

 When it’s spun to your liking, preferably tight take a mini-elastic (as I use) and tie the end of the section to the base to keep a firm little bun. If your hair’s wet I suggest drying it before this step as these are impossible to dry. Otherwise take the hair dryer and attempt your best on these little ball’s of doom. Leave in for a few hours. I left mine for only two hours.

 When unravelling the balls simply stick a finger or two through the centre of the curled up ball and pull the end out of the band or such. I don’t like cutting my mini-elastics so I hold the section of hair semi-straight and roll the band down and off the hair. Do this, of course to each section.

 Take each section and gently untangle it and style as you please. I found that the part’s of my hair that were dry when I spun them frizzed a lot better and prettier than the one’s that refused to dry but that’s just common sense.

My make up consisted of white eye shadow, black eye shadow and black liquid eye-liner. But not to leave out my, getting better, attempts at blending.

I went to a party for my friend’s birthday today, a BBQ and this was what a wore.

My outfit consists of:

Neck-less: Equip.
Dress: Fashion fair.
Underskirt: Christmas.
Undershirt: EBay.
Stockings: Kmart.
Shoes: Kmart.

What do you think?
-Sary.

Hair Tutorial: Fille De Porcelaine

This is the hair tutorial that I mentioned in my last post. No, it isn’t by me of course but it is a wonderful lolita tutorial and general adorable hairstyle tutorial. You should check out her other video’s they are VERY good, especially the Wave Gotik Treffan one.
Enjoy.

P.S. I am no way associated with the maker of this video. I do not know her or have ever spoken to her and all rights remain with her for this video, in which, I had nothing to do with.