Outfit Post: New Year, New Hair, New Years Outfit

 Disclaimer: This is a post for Sophistique Noir’s Monthly Theme of New Years. I urge you to check it out by clicking the button bellow and to check out all the other wonderful entries [here] and certainly Sophistique Noir’s blog itself!

Hey guys! This year so far is off to a great start. But my optimism could possibly be espresso fueled. It’s safe to say that while I’m happy for a new year I’m so frightened of so many things e.g. moving to a new town without the help of my parents and starting university. I think it’s worth while to start out the year experimenting with a few things and taking chances so that’s exactly what this outfit post is all about.

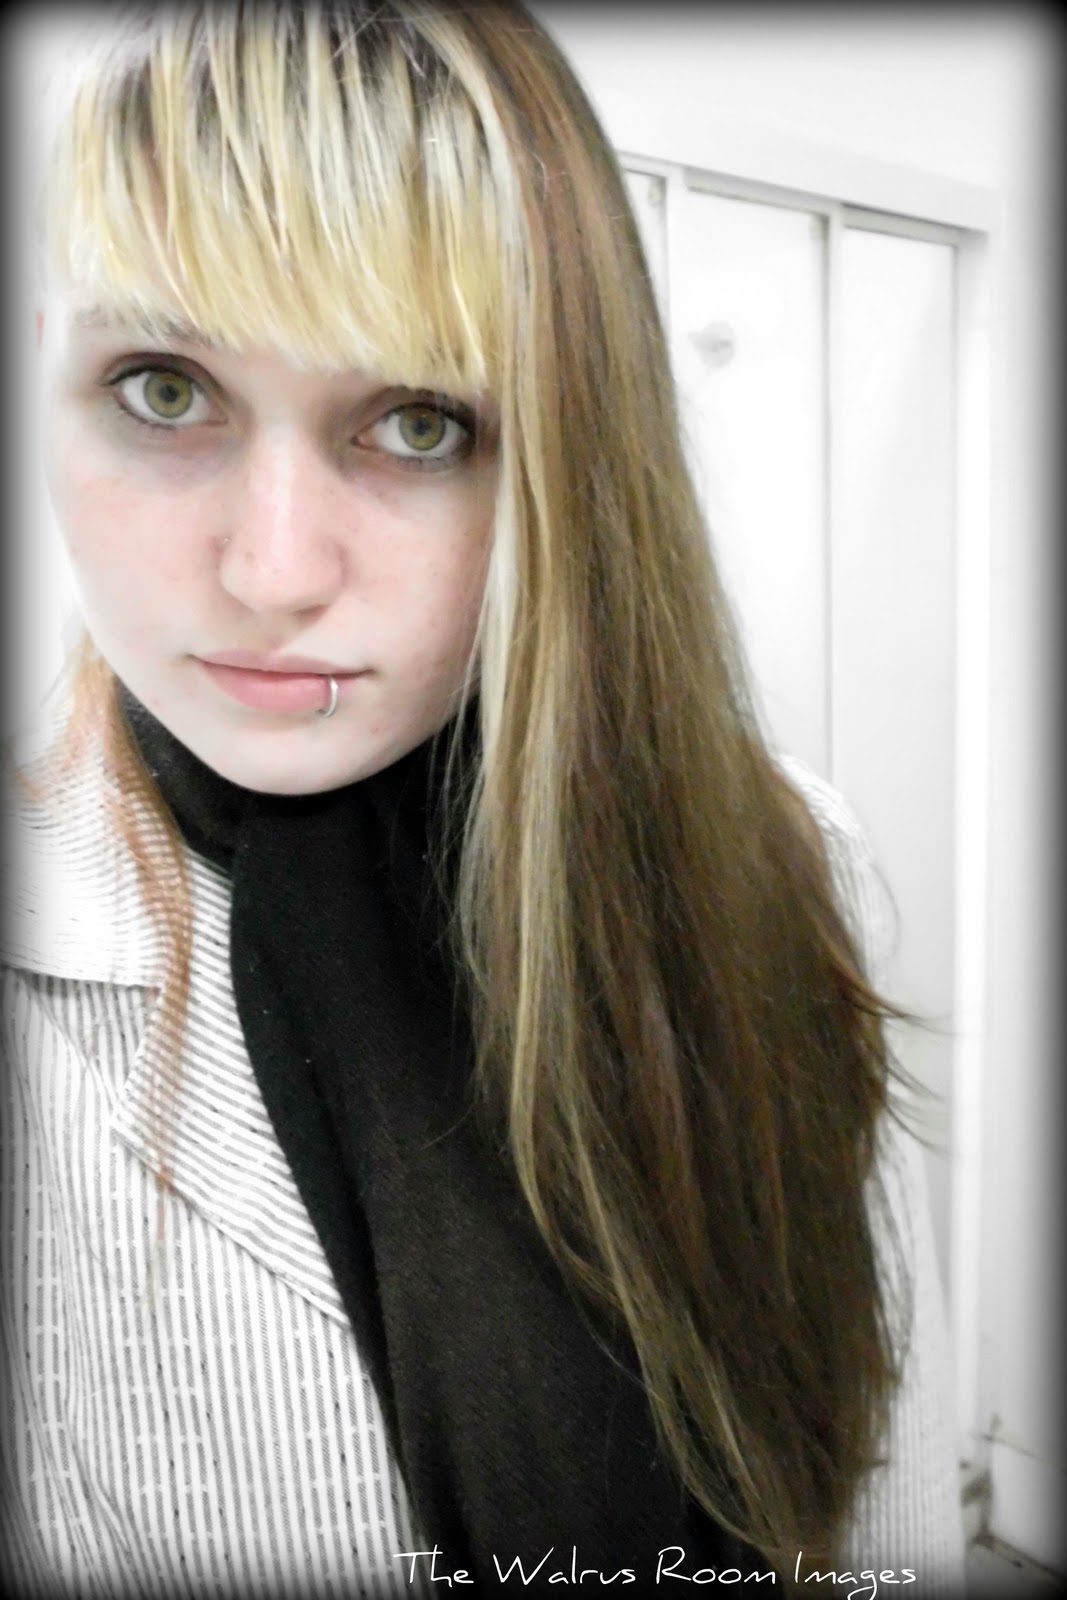
I’ve been wanting to cut my hair for a while, or at least change it drastically. My personality is that of someone that needs some change every now and then otherwise I’ll drown in a rut of boredom. At first in the last month I was considering it but I was so frightened. This fright really made me realise I needed to cut my hair. The last thing I want to be frightened of is protecting something as unimportant as my hair and I wanted to do this to remind myself that appearance isn’t the most important thing in the world.


The act itself was a little less hyped. It played out exactly like: “Coen, do you think I should cut my hair?” “Whatever”. So I grabbed the scissors, went into the bathroom and in the next five minutes was finished. 

Six inches and ten months of hair growth gone!

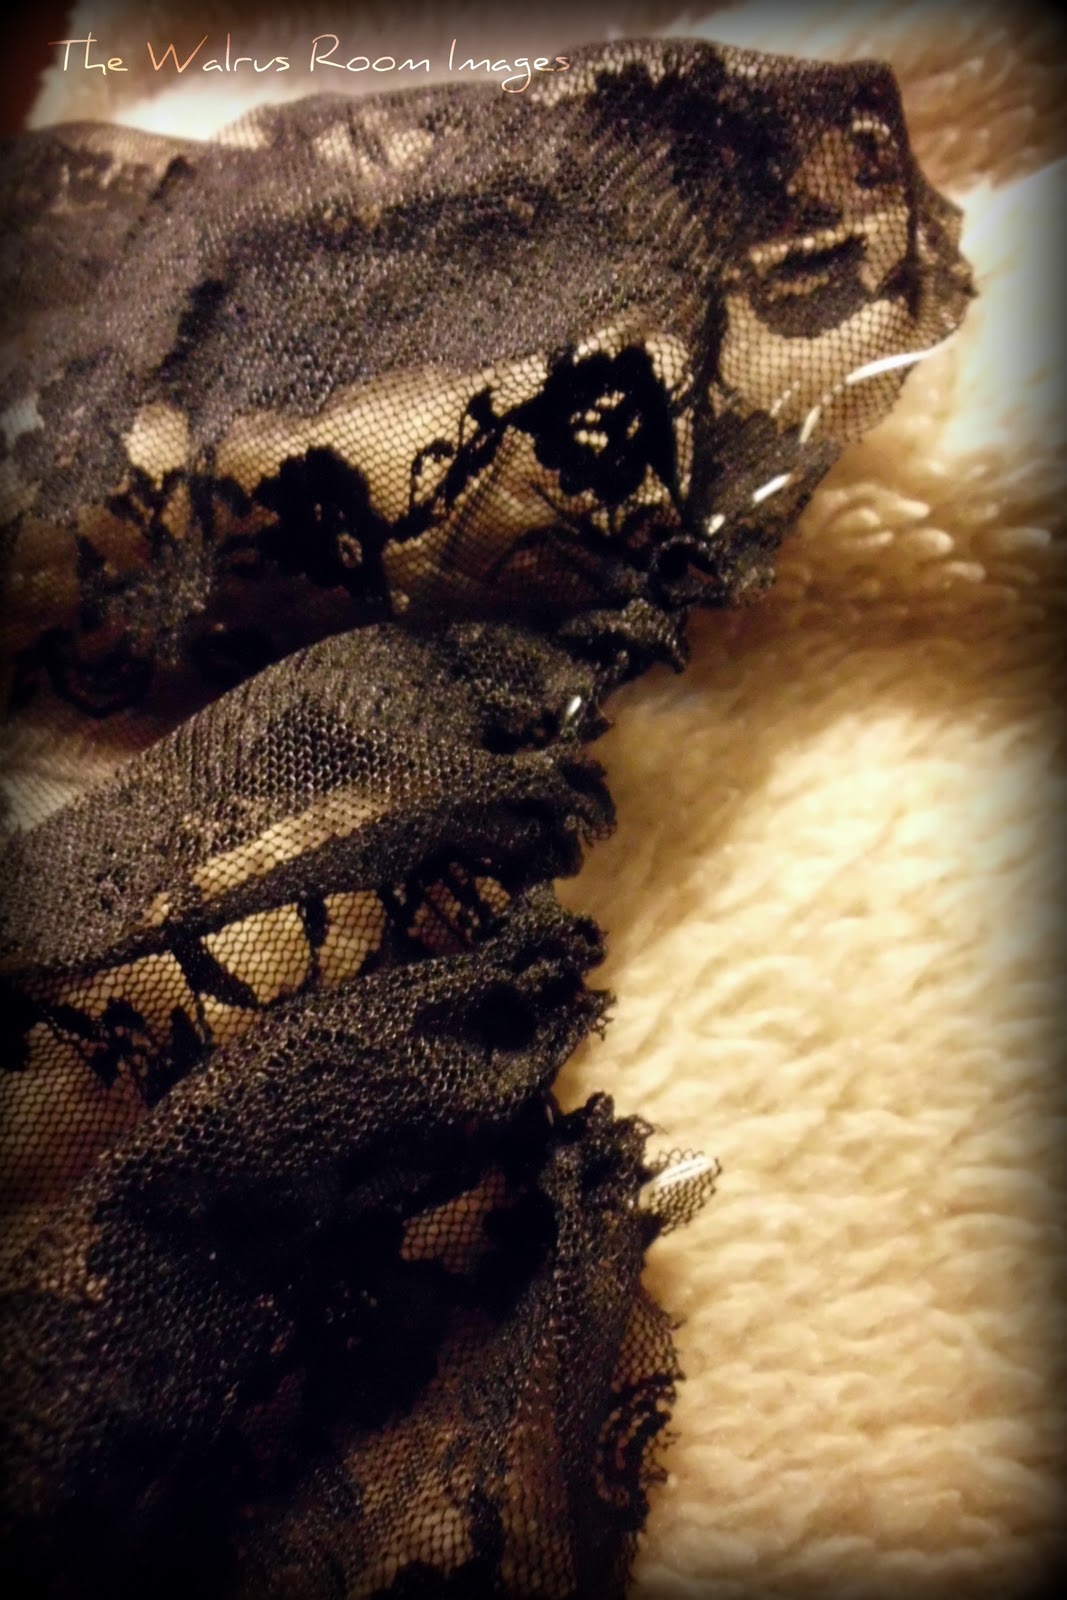
The outfit picture is rather terrible but we were about to leave for a friends party and it was as hot as hell outside which I was not prepared to face. The leopard print dress I’m wearing was a bit of a spur of the moment buy. I regretted buying it almost immediately because I didn’t think I would wear something that isn’t black – so far that thought has been completely wrong. On the other hand while thinking about my style journey I wanted to add a bit more punk into my wardrobe and this was the dress for it – perfect with a leather jacket!

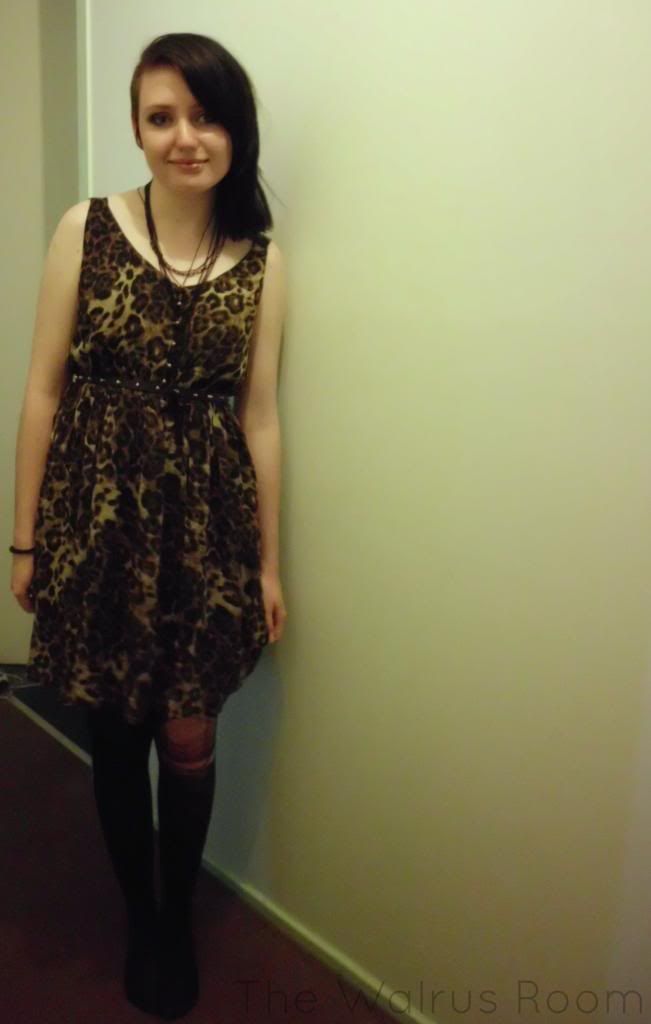
It’s certainly different than everything else in my closet!

Outfit:

Dress: Jay Jays.
Stockings: Anonymous.
Shoes: Cotton On.
Belt: Boohoo.com.
Necklace: EBay.

Anyway, I spent my New Years drinking milky alcohol with a bunch of my friends, ending up sleeping on the floor of a tent fully clothed with only Coen as a blanket. How did you spend your New Years? Are you getting a jump start on your resolutions or goals?

Monthly Theme: Outfit

Completely make up free. Oh, the horror.

 This is a post for Sophisticated Noir’s Monthly theme post. This months theme, if you haven’t already heard, is outerwear! It was quite chilly today amazingly since it’s mid summer here in Australia and I gladly took advantage of that!

I was looking through my mothers wardrobe for kittens and spotted this lovely jacket. I didn’t take it at the time because that would have been so rude. Instead I brought it up later and she didn’t even know she had it!

The stripes are so small and come in a strange little pattern that makes me think of binary – to be perfectly honest. But I adore the buttons! There are two rows.

 Outfit:
Scarf: Given to me, possibly, years ago. It also has a massive brown spot where I burnt it while drying it next to our heater.

 Jacket: My mum’s wardrobe.

 Skirt: Self made.

Stockings: Purple and black/ Blue and black/ fishnet: Given to me, Kmert and Kmert.
 I’m also wearing a frilly, sheer   blouse that was thrifted.               
 Best wishes,                  
-Sary                       

DIY Tutorial: Victorian Cuffs

After reading Kamyria Magdalena Mourn‘s post on her creation of her lovely arm warmers here I was inspired to start some of my own heavily modified, of course, version. Just in time for Sophisticated Noir’s Monthly theme posts! I hope you enjoy. It’s a very simple tutorial, I’m very lazy, so nearly anyone can follow along and modify it as they please.

You will need:
-Some type of lace or fabric.
-Thread.
-A needle.
-Ribbon or elastic.
-Decorations.
-Buttons.
-Scizzors.
-A lighter or something that flames.

Random close up of my lace.

Step One:
Cut out your fabric of choice into four parts. All lengths should be three times your thickness (of any part of your hand), two should be your desired maximum length and two should be shorter than those. You’ll also want to cut your ribbon now. Cut it depending on whether you want to tie it, or to use buttons. Take the ends of the ribbon and run it other the flame. Be careful it may burn quickly! It will melt the tips and stop them from fraying.

Step Two:
Take your pieces of fabric and sew on the rough edge in a straight stick, it doesn’t have to be fancy. You might want to use black thread if you’re using black lace but you’ll be ruffling it anyway.

Pull along the thread and evenly distribute it. Make it so that it’s slightly shorter than your wrist measurement. (Otherwise you’ll have problems with the button.)

By now you should have something that looks a bit like this when laid flat together.

 Step Three:
 Sew the two didn’t length’s of fabric together with the ruffles as evenly distributed as possible. Then I pinned them to the ribbon. I think you honestly need something to pin them with, even if it’s just safety pins. Those ruffles mean business!

Pinned.
And stitched. Yes it’s horribly stitched.

 I used, I have no idea what the name of the stitch is. Generally just a typical stick by less frequently. When done well you shouldn’t be able to see it at all. Unless, like me, you randomly decided to sew this at one o’clock in the morning.

Step Four:
 If you’re going to use buttons you’ll need to cut your ribbon down to size. I cut the over lapping side down first and then placed the cuff on my wrist and pined the button where I wanted it. Then I cut the button hole. Remember the run the edges and the button hole over the flame. be EXTRA CAREFUL with the button hole. I ruined on of mine and had to sew it so it didn’t snap.Ribbon burns super fast.

Step Five:

 Sew up the edges from a fair, measured distance, from the button hole. Try it on and pin it in a place that it can be easily removed. Sew from there!

Step Six: 
Add any decoration you wish! Go crazy. I didn’t, because I’m lazy and I prefer a simpler look. I also hemmed my lace, because it’s open cut lace but that was only really because the bottom was way too long.

You’re done! Enjoy your new pair of cuffs!

My finished pair.

I hope you enjoyed. And check out that other version!

Best Wishes
-Sary